Nextcloud have excelent Apps for integration user and group by LDAP / AD. If don’t have LDAP server check “How to Install and configure a Basic LDAP Server on an Debian 8 Jessie” and continue reading this short example of integration LDAP and Nextcloud.
Activate LDAP user and group backend for Nextcloud
Login in Nextcloud as Administrator and click on top left dropdown list and select “Apps”, then click on “Not enabled” and search ” LDAP user and group backend”.
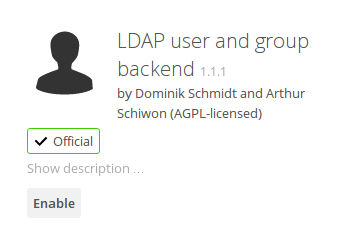
Click on button “Enable” and wait 5-10 sec, then click on top right dropdown list.
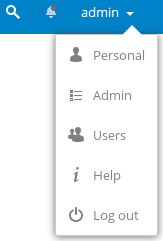
Click on “Admin”, and select “LDAP / AD integration”
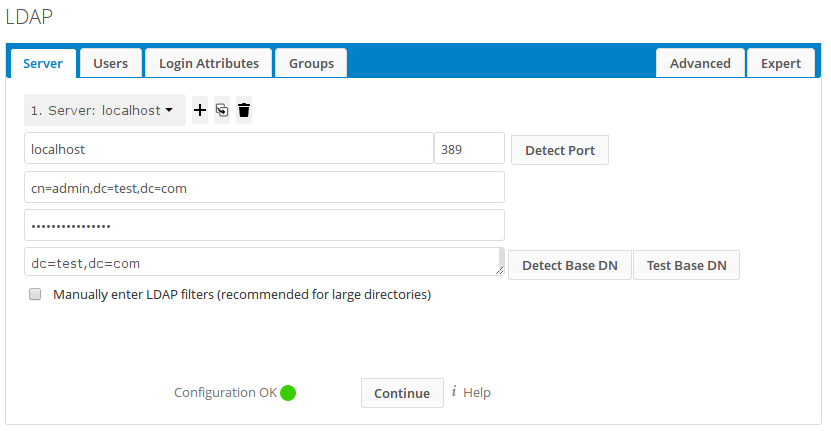
Enter LDAP connection data and go in section Users.
Hostname: localhost
LDAP bind user: cn=admin,dc=test,dc=com
Password: The password that you have choosen.
Base DN: dc=test,dc=com

Under selection “Only these object class” select “inetOrgPerson”. Now go in section Login Attributes.

Select checkbox “LDAP / AD Username” and “LDAP / AD Email Address” (users can login with username or e-mail), then go in section Groups.
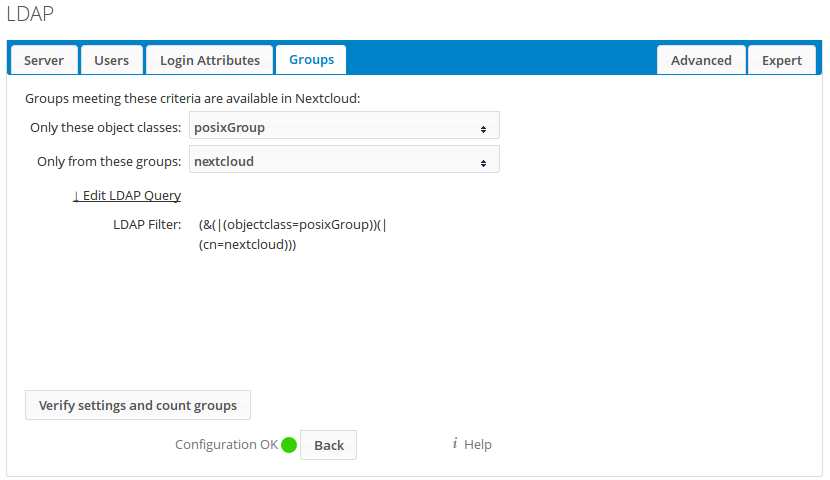
Under selection “Only these object class” select “posixGroup” and under “Only from these groups” select “nextcloud” then go in Advanced settings.
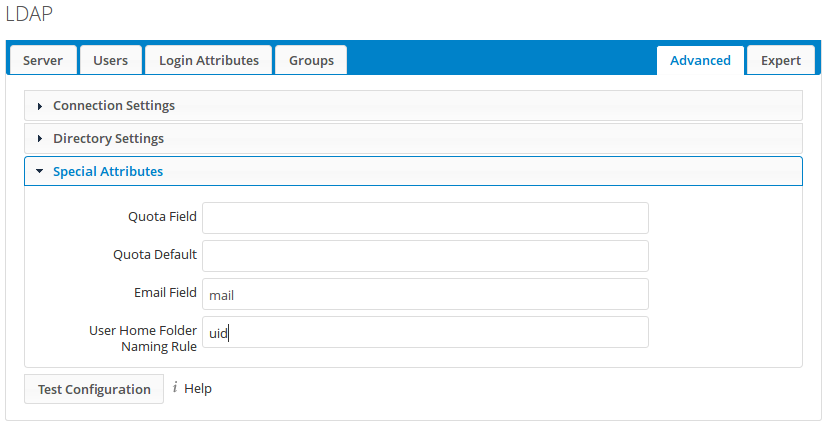
Under Advanced set Special Attributes.
Email Field: mail
User Home Folder: uid
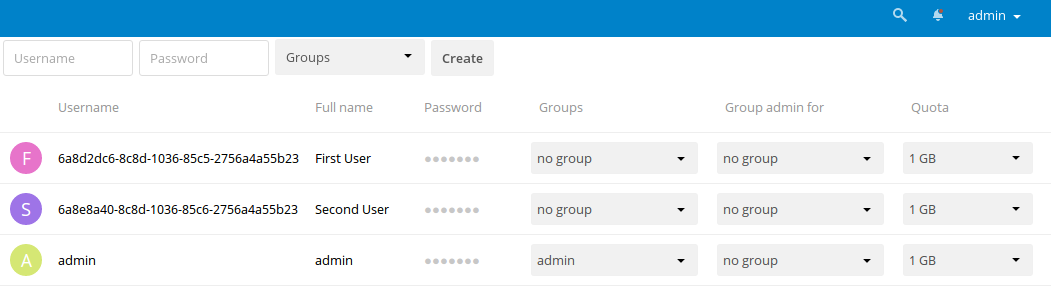
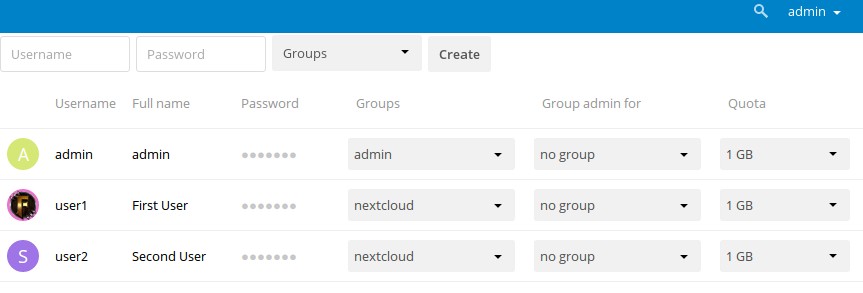
Now can check users, click on top-right dropdown list and select “Users”
LDAP Expert
Under Username system generate UUID attribute automatically and that value need to be unique. You can change Internal Username from UUID to uid but that option is open only for expert users.
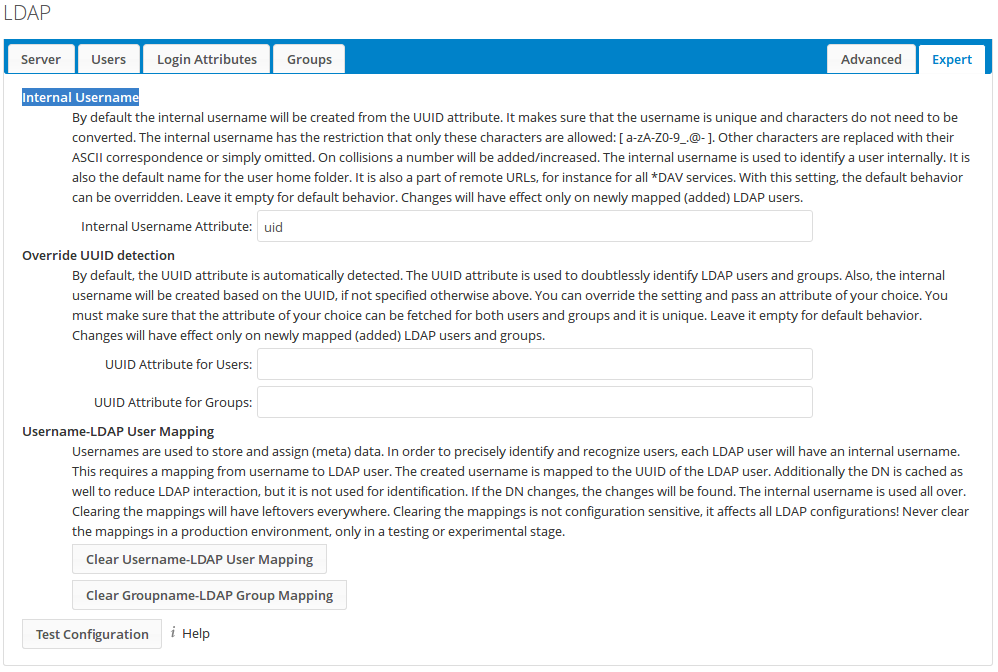
You can change “Internal Username” for example in “uid”, and result is:
That is all, enjoy in Nextcloud with LDAP integration.